Advice and answers from the Rixbo Team
Manage Categories lets admins organize products into clear, searchable groups. Admins can add, edit, or delete categories easily through the dashboard. It keeps your inventory structured, improves customer browsing, speeds up shopping, and boosts sales, making the shopping experience simple and enjoyable.
Log in to the Admin panel and open the Dashboard.
Navigate to POS from the left menu.
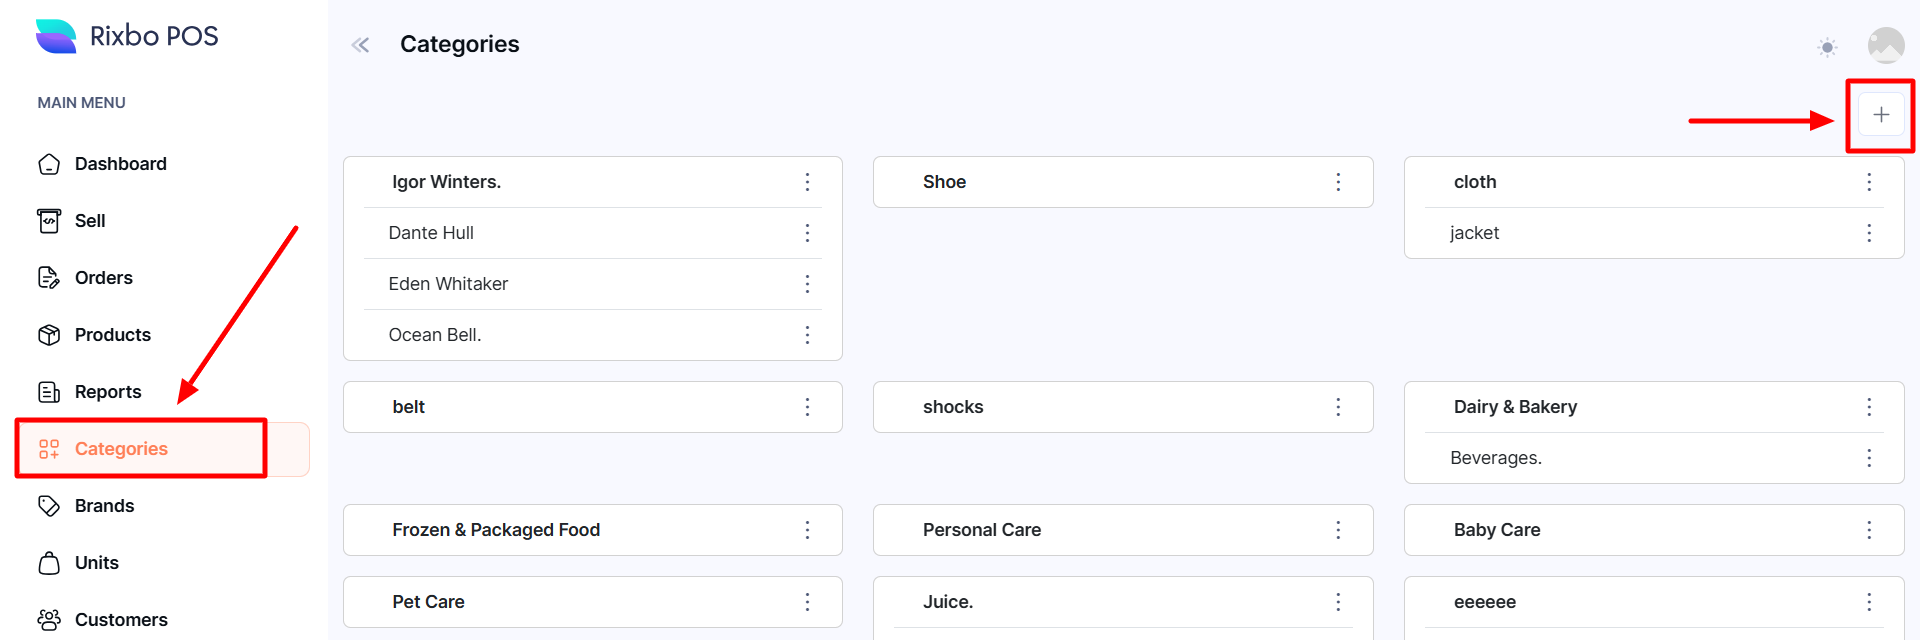
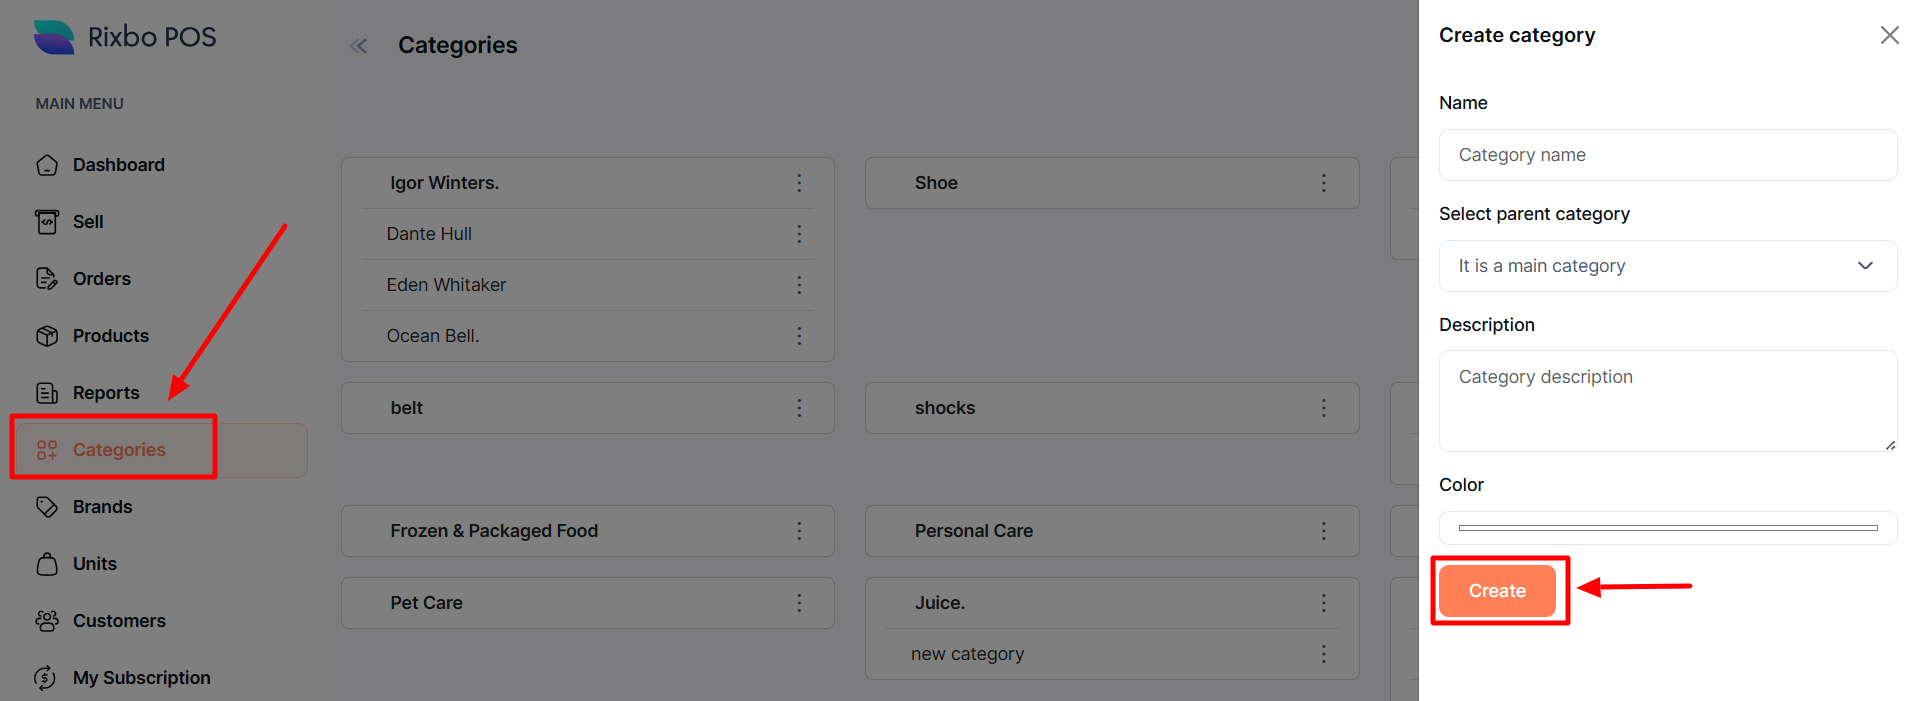
Finally, click Categories from the left menu, and a new window will appear.
Click the + (Plus) sign an entry form will appear.
Fill in the following details:
Name: Enter the category name in the designated field.
Select Parent Category: Select the parent category from the drop-down.
Description: Provide the relevant category description in the desired field.
Colour: Click on the colour option and select your chosen colour.
Once all the fields are completed, click the Create button to save the information.
Log in to the Admin panel and open the Dashboard.
Navigate to POS from the left menu.
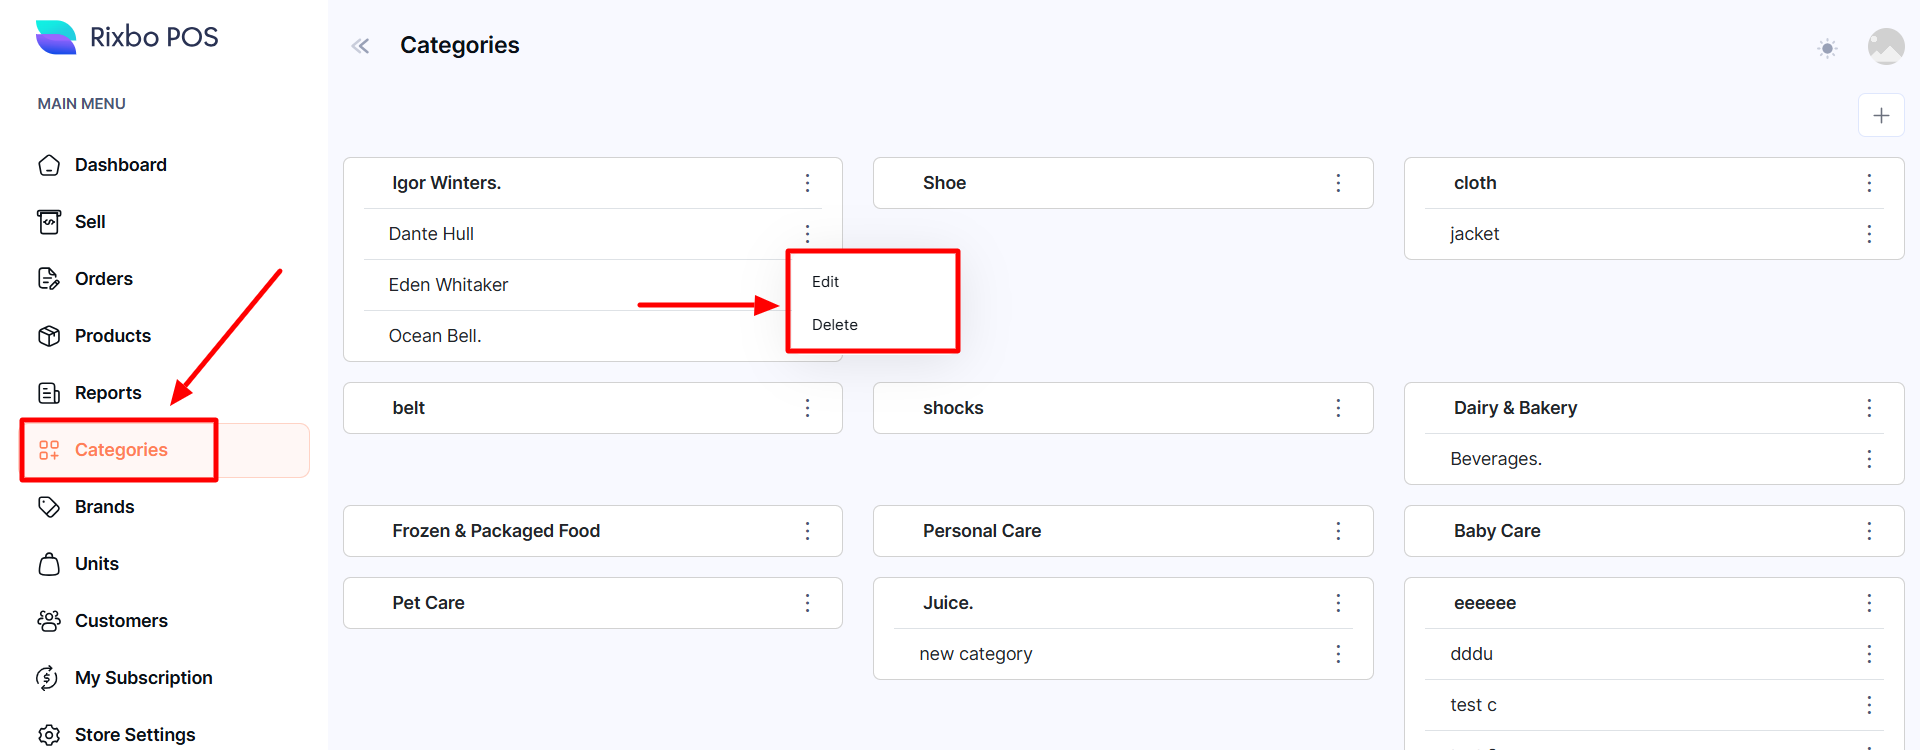
Finally, click the Category from the left menu, and a window will appear.
When you click the three dots in the Options button, a new window will pop up with Edit and Delete.
Click the Edit a new entry form will appear.
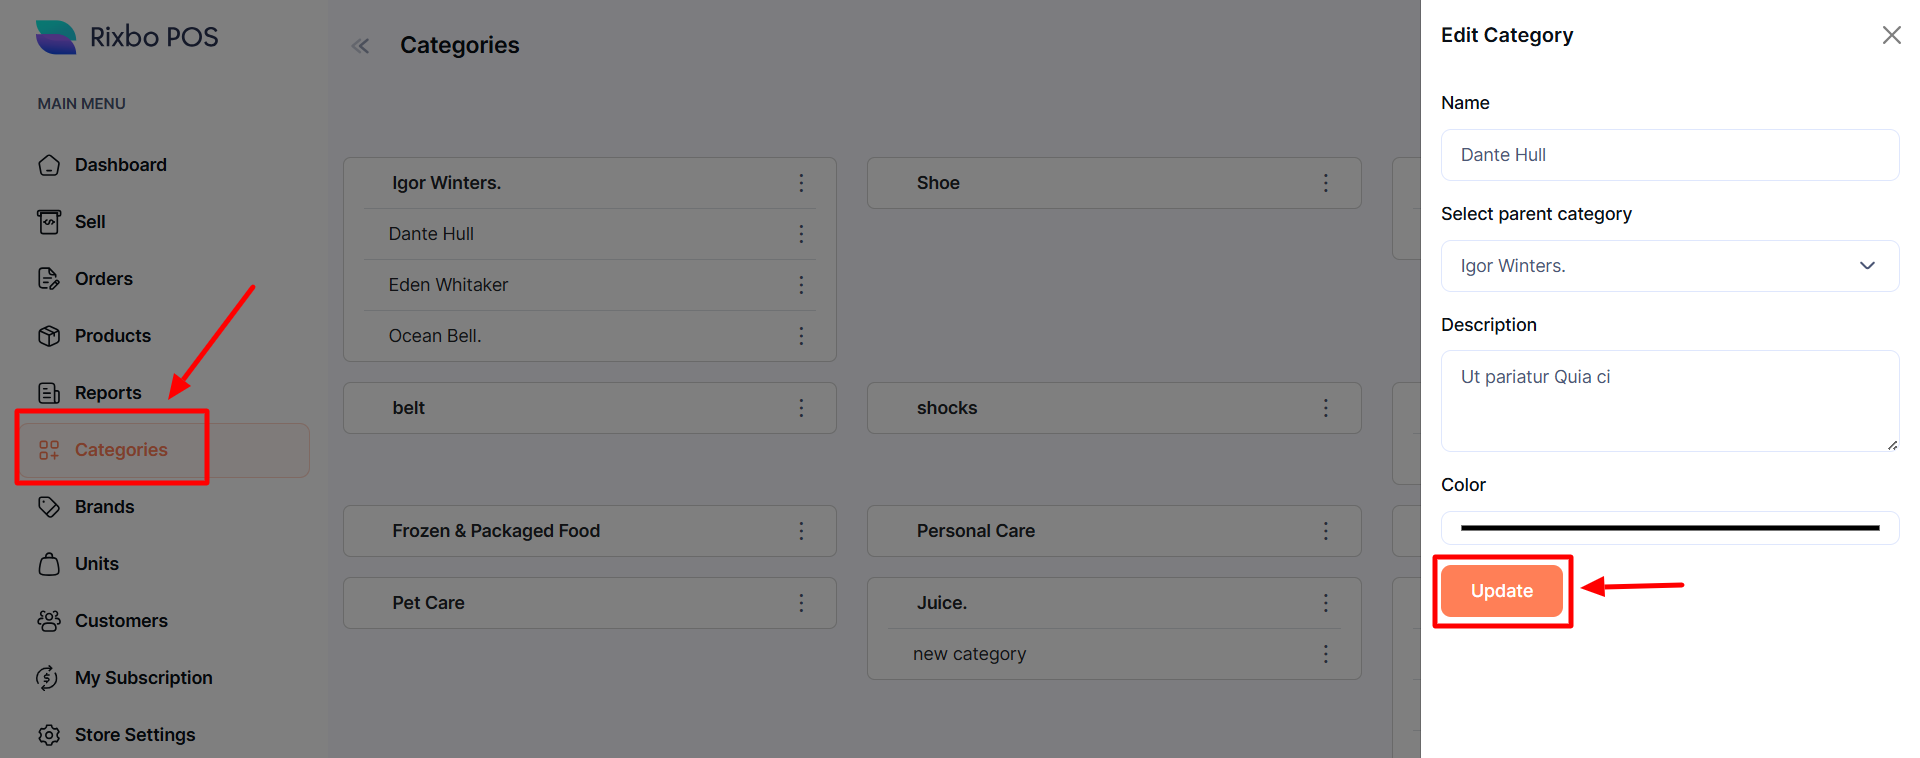
Fill in the following details:
Name: Enter the category name in the designated field.
Select Parent Category: Select the parent category from the drop-down.
Description: Provide the relevant category description in the desired field.
Colour: Click on the colour option and select your chosen colour.
Once all the fields are completed, click the Update button to save the information.
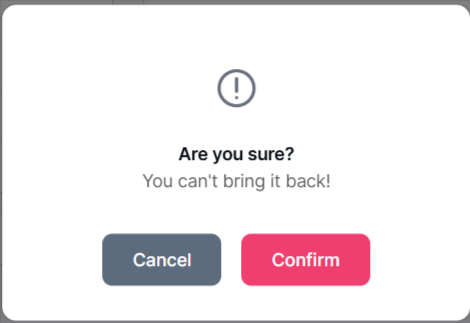
If you click the Delete button, a confirmation window will pop up.
If you click the Confirm button, the category will be automatically deleted; otherwise, click the Cancel button.